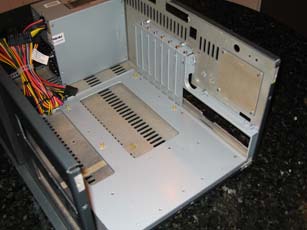
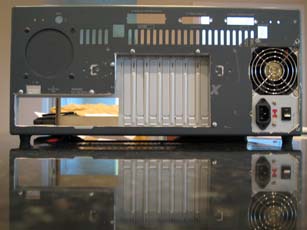
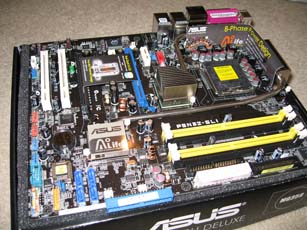
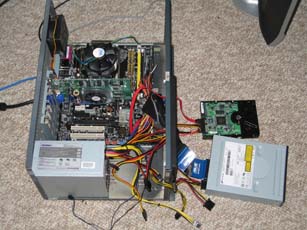
Computers built into things that were never meant to hold one, plus a robot, a NAS server and a 3D printer.
Mini HTPC
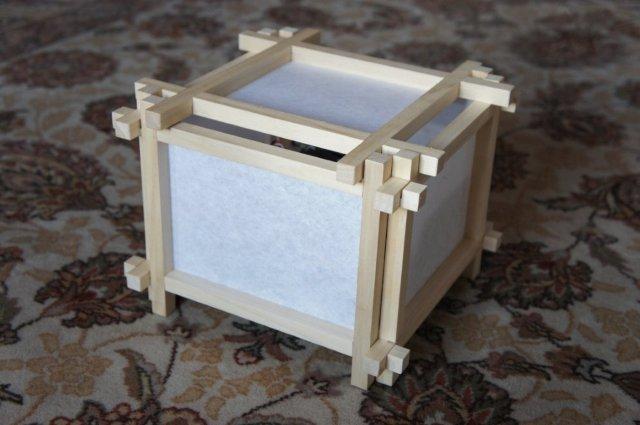
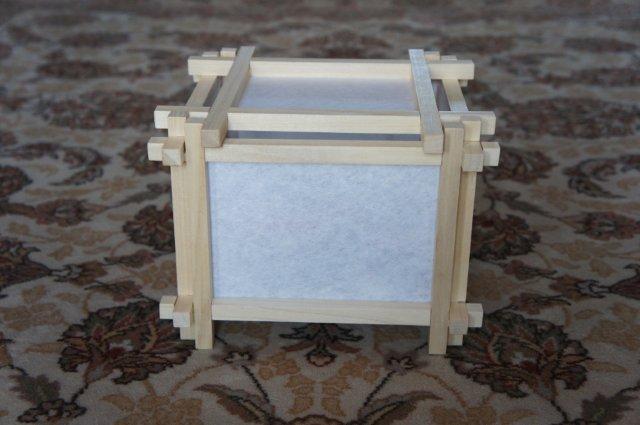
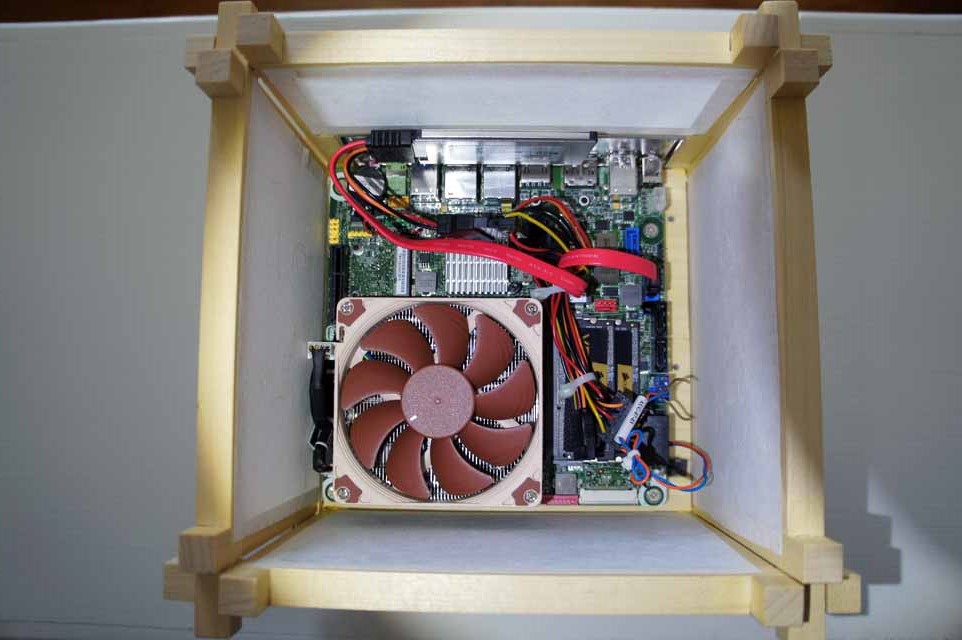
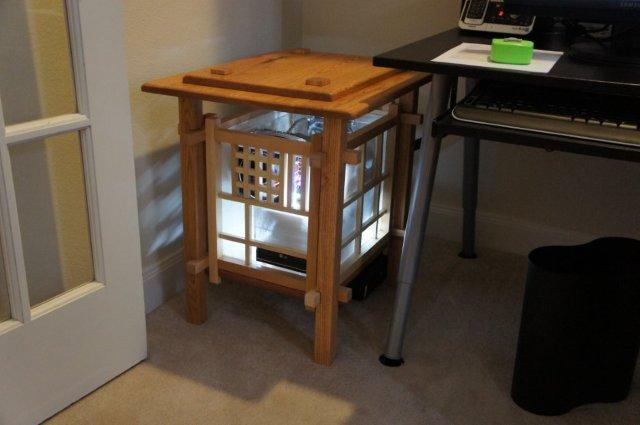
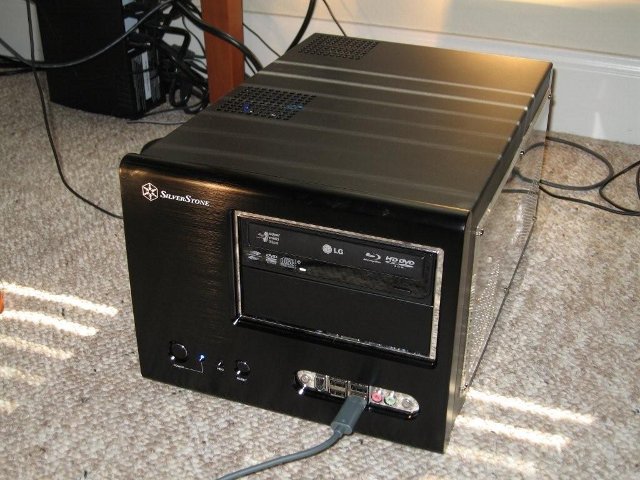
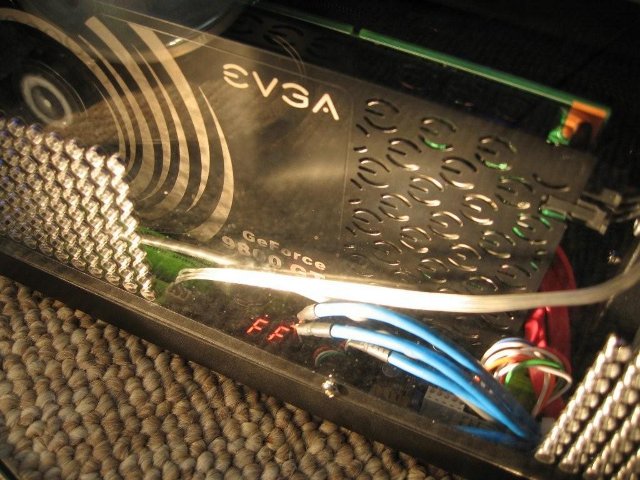
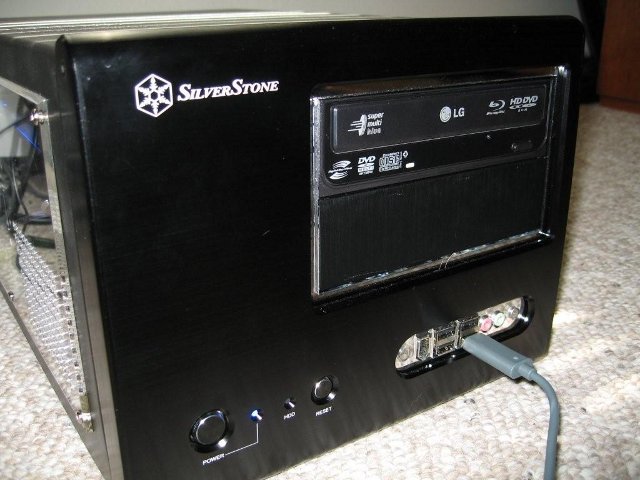
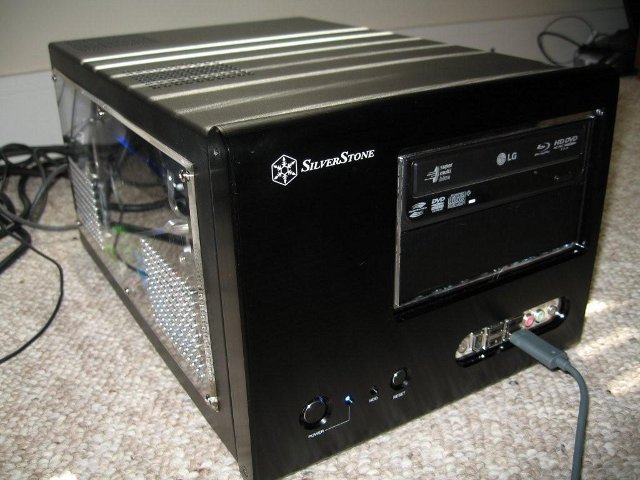
DimSum is a Mini ITX HTPC
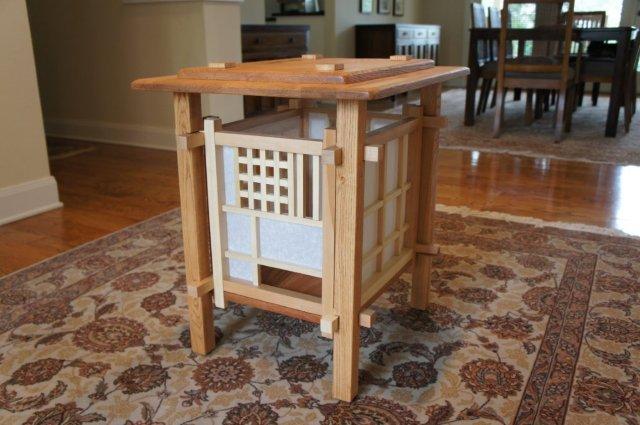
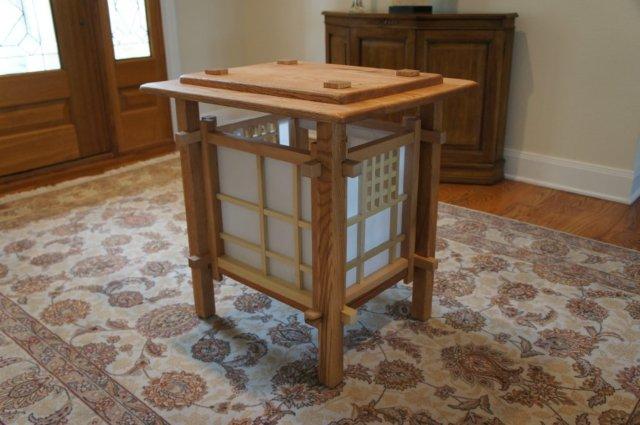
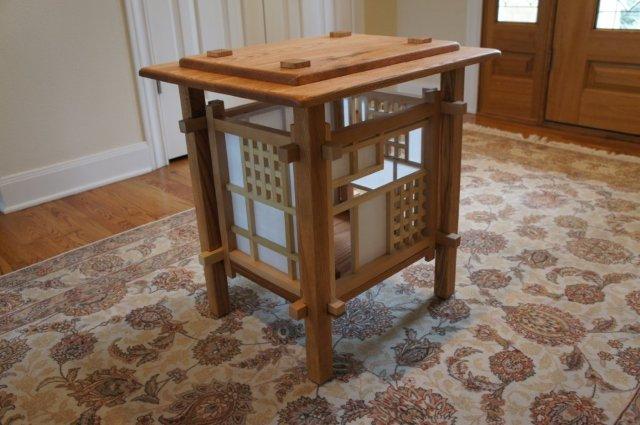
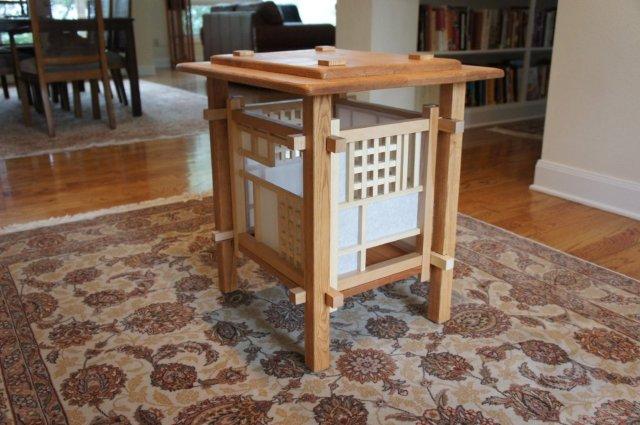
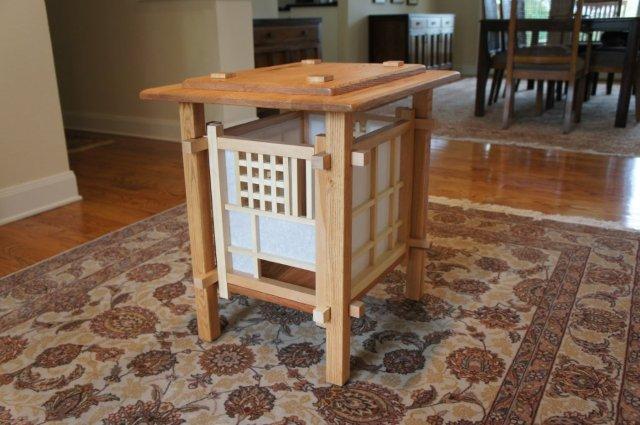
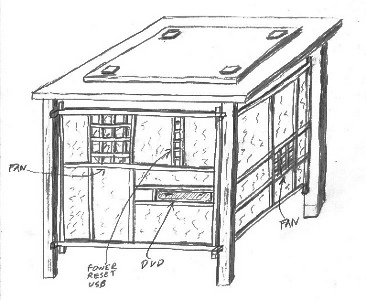
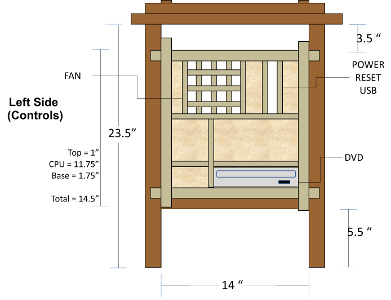
This is another variation on the shoji screen computer case.
A called it DimSum because it is small, and I put tape over all of the
LED lights in the system so that it wouldn't glow. Therefore DimSum.
Here is the parts list.
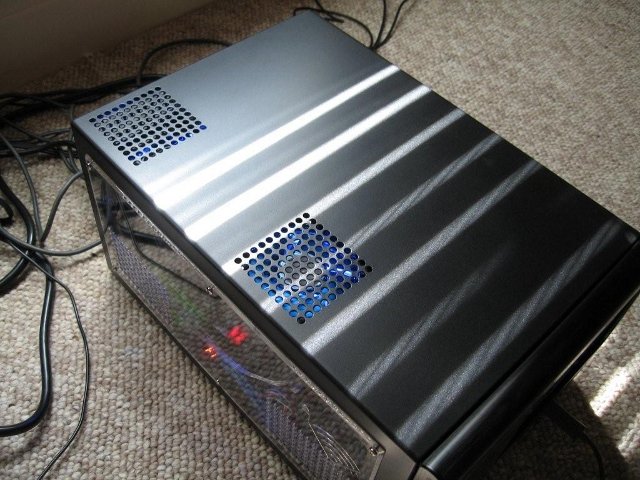
The sides and top are made out of rice paper.
The CPU runs at 35W and it has an external PSU. So, the only fan inside is the Noctua CPU fan. It is ultra silent
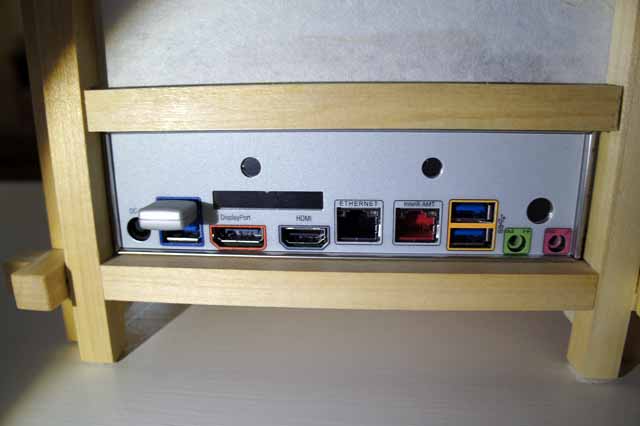
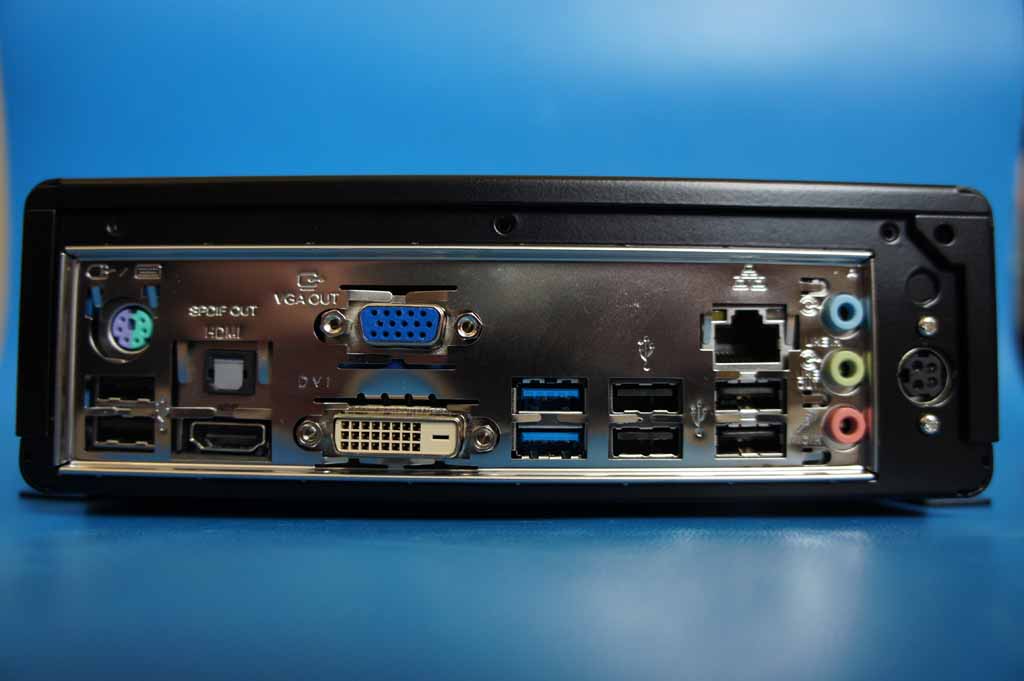
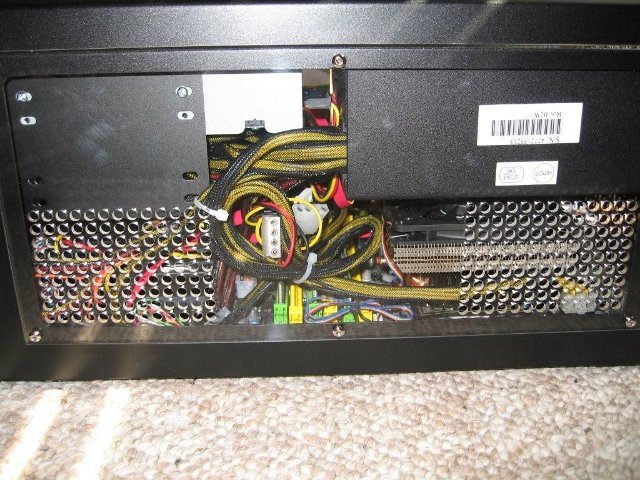
Here are the back connectors.
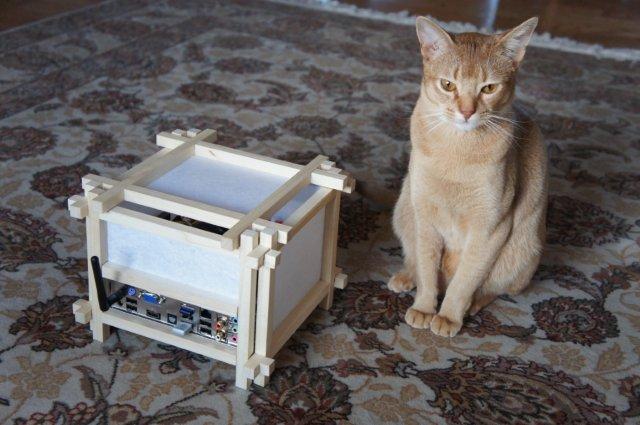
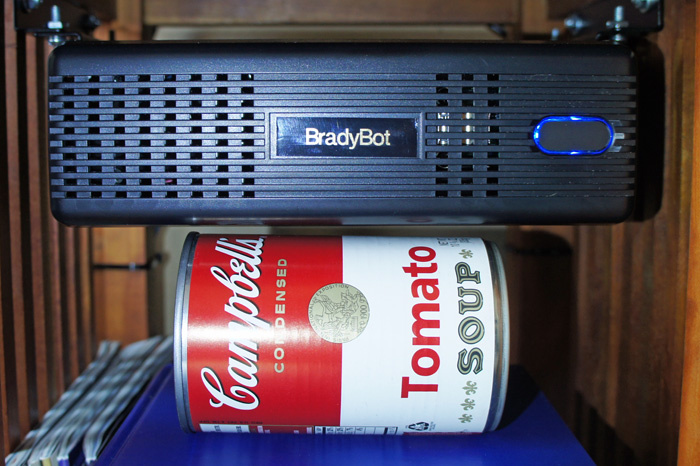
It is pretty small.
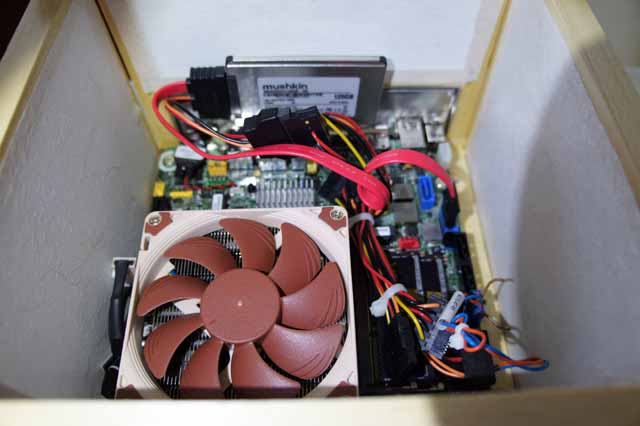
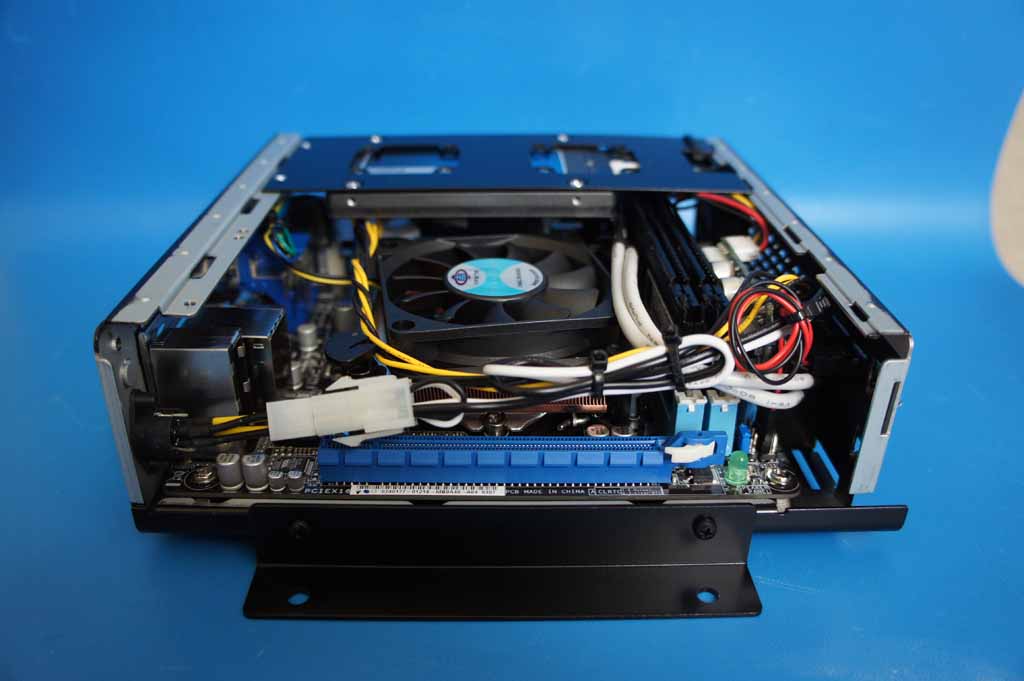
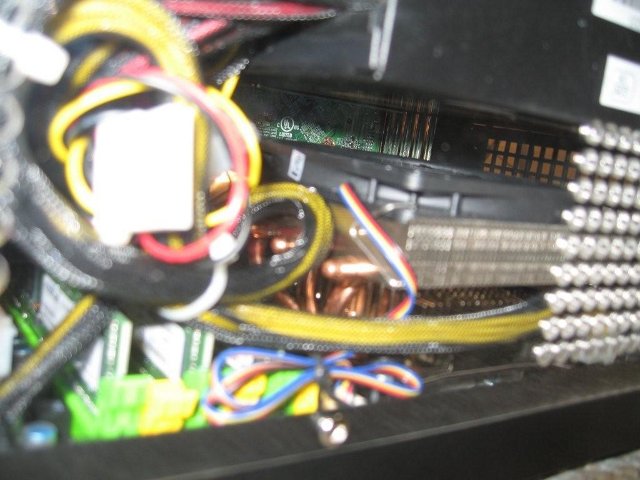
Not much room inside.
I velcroed the 1.8" SSD onto the back of the case.
The New Howard
New Howard
Howard is one of our primary machines. It's time for an update. Here are the specs:
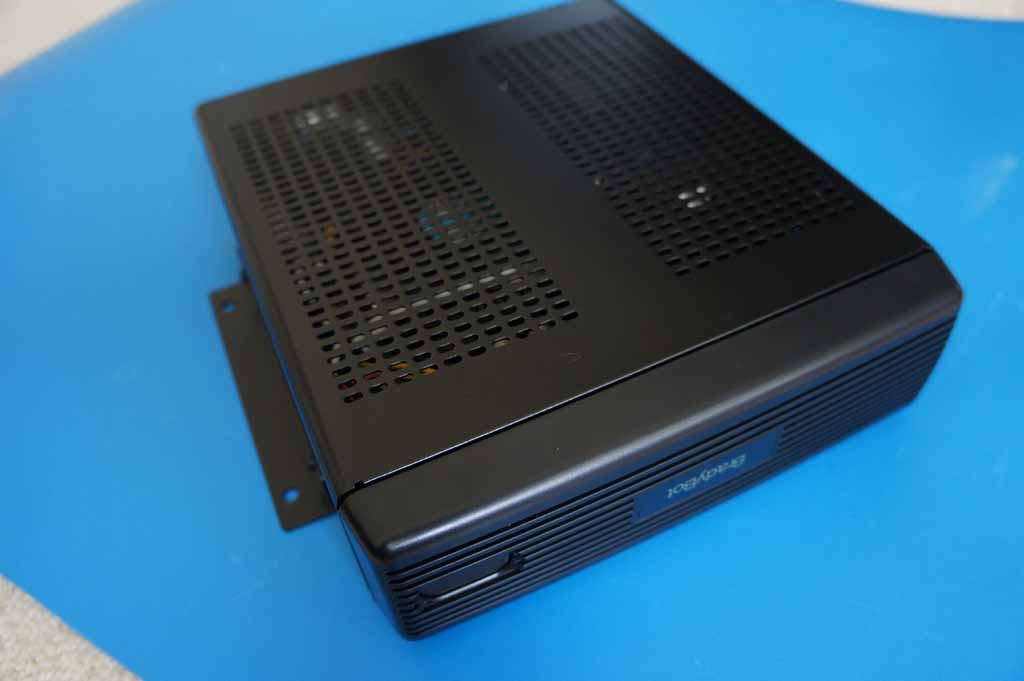
I also decided to order a new case. I went with the Mini-Box M350 which has an external power supply.
It is really compact.
New Howard
New Howard
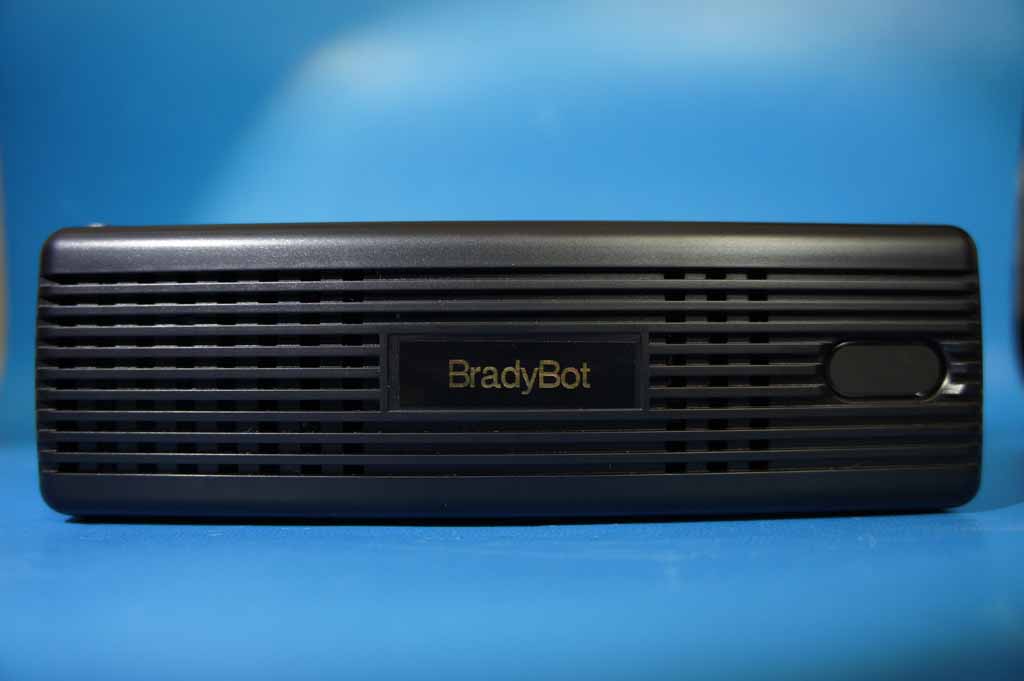
Front and back views. The front even had a place for an OEM logo.
New Howard
New Howard
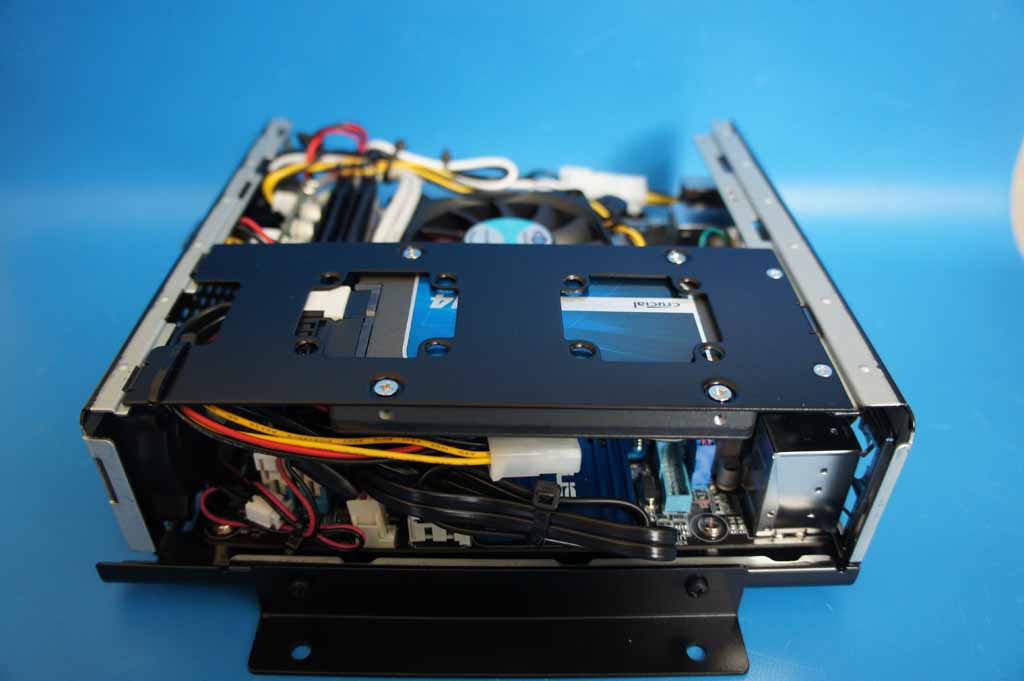
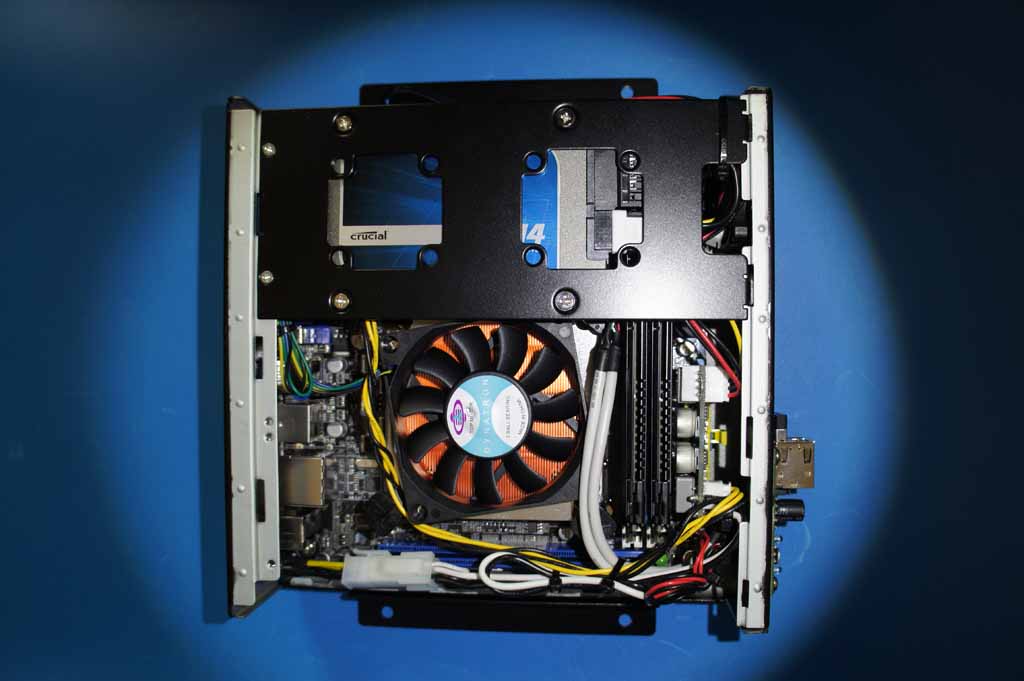
Inside views. I also ordered a CPU fan from Mini-Box. It seems very quiet.
New Howard
New Howard
New Howard
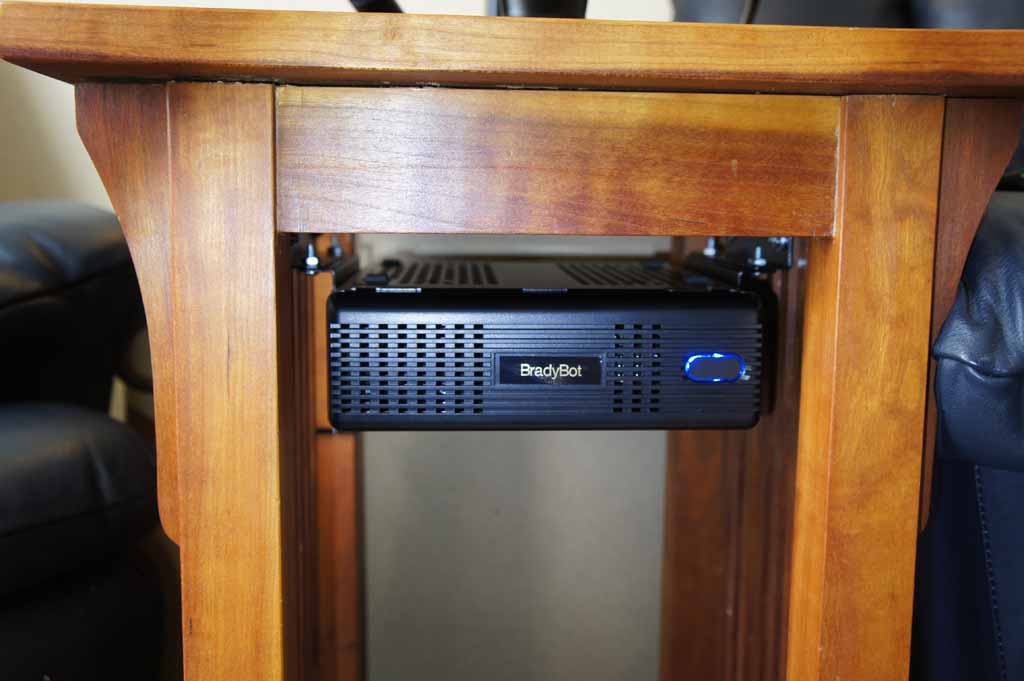
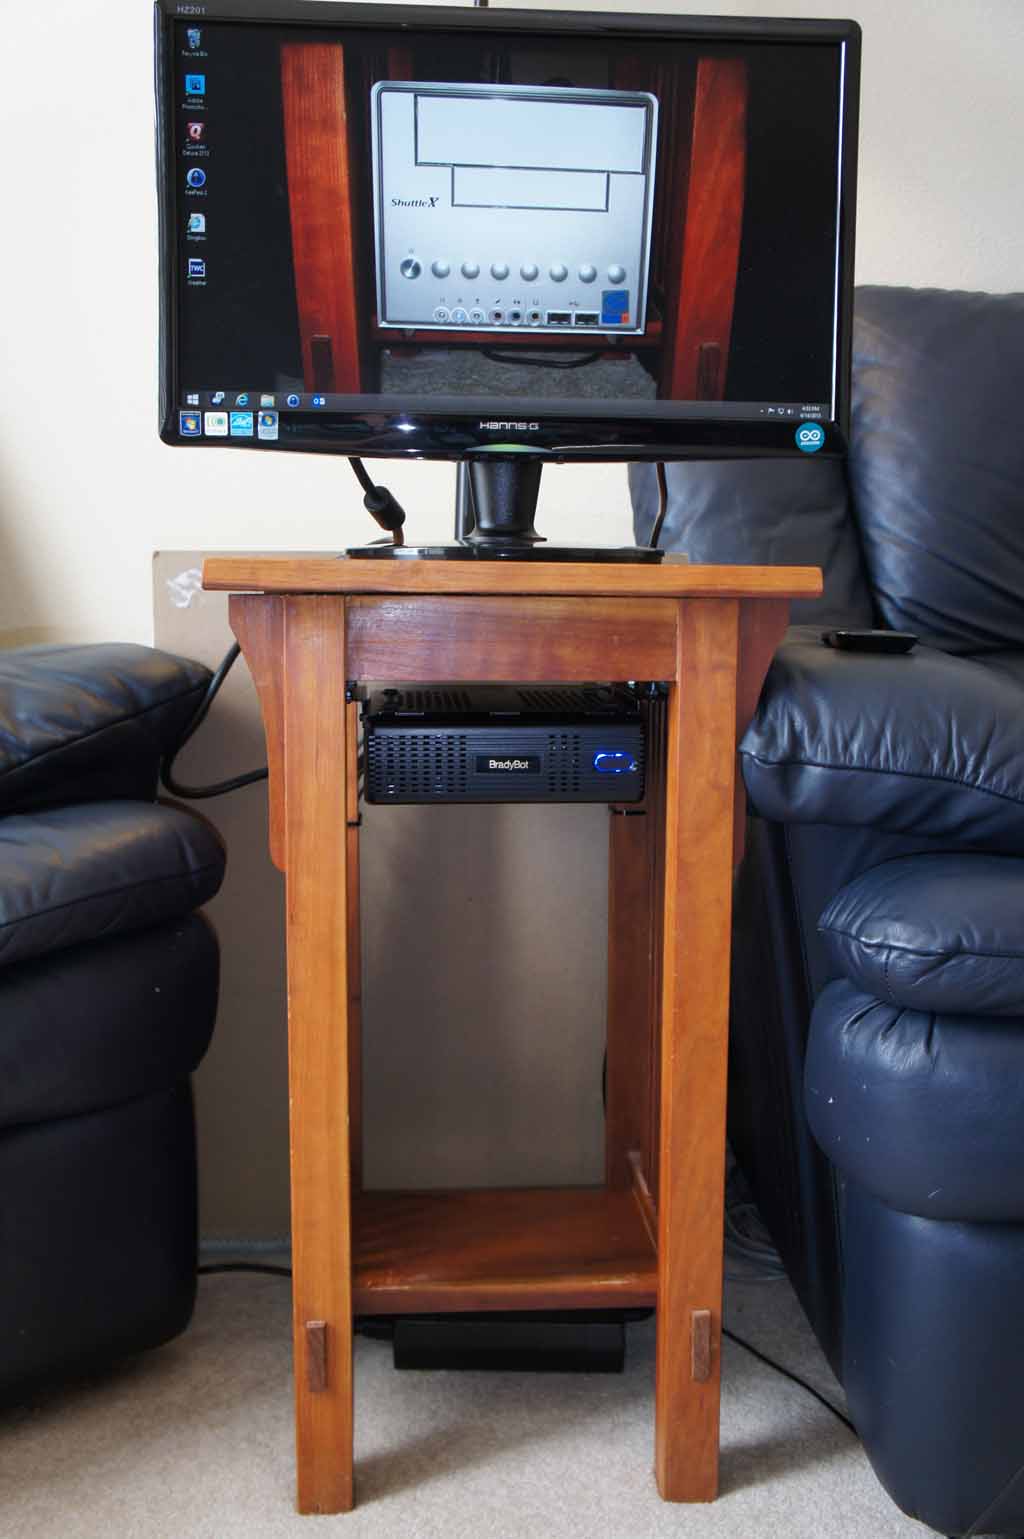
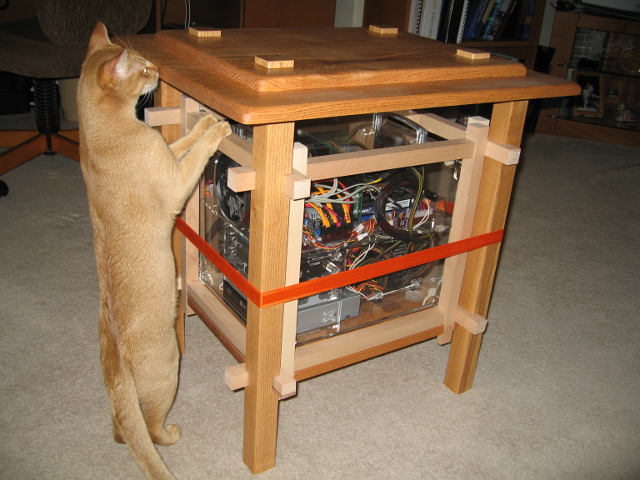
I finished by mounting it to the underside of a cherry wood side table.
New Howard
New Howard
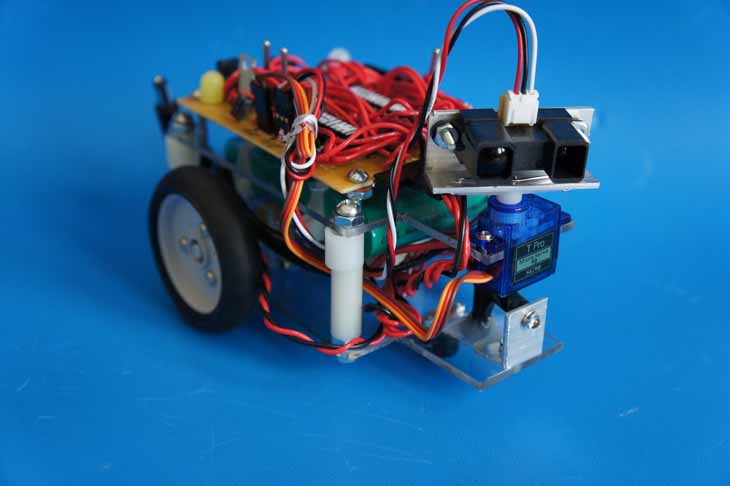
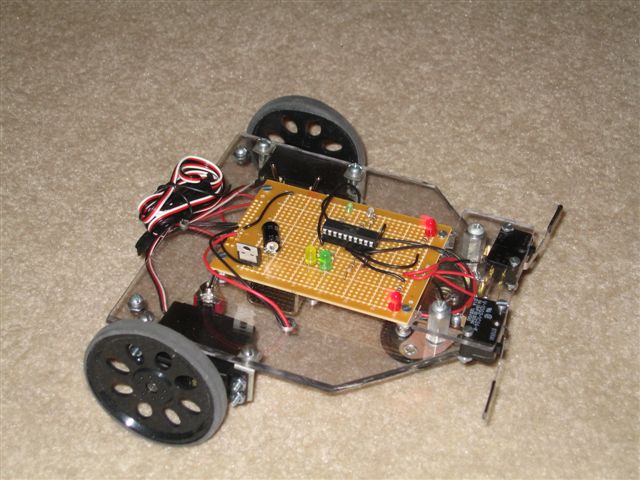
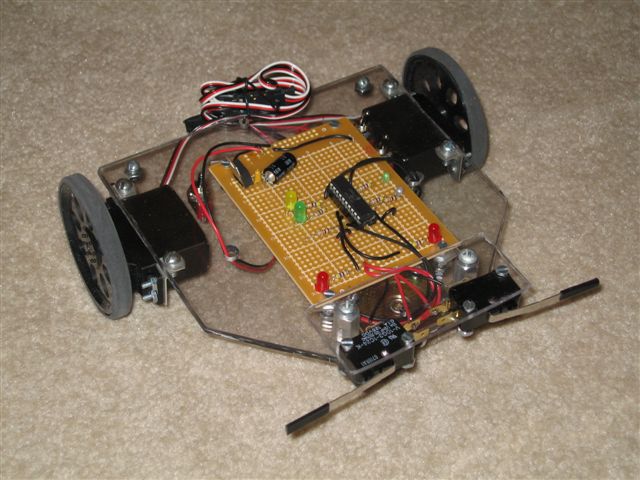
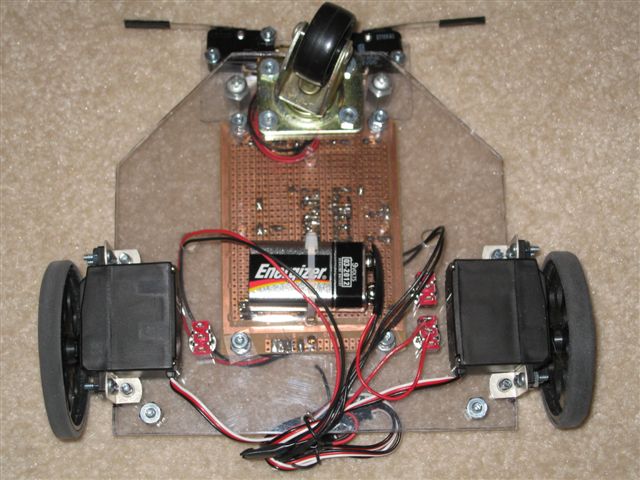
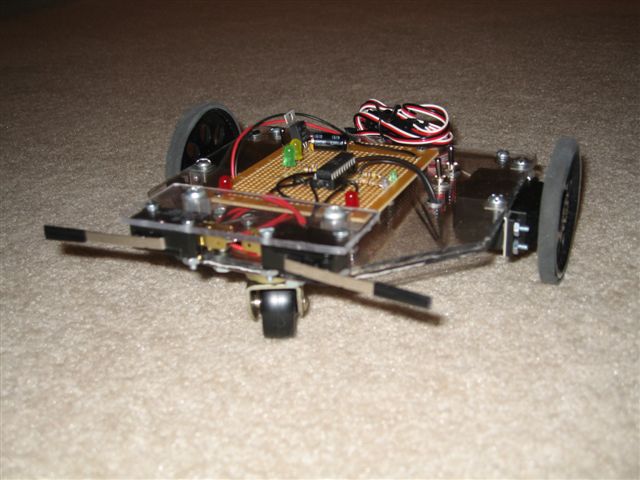
E11 Robot
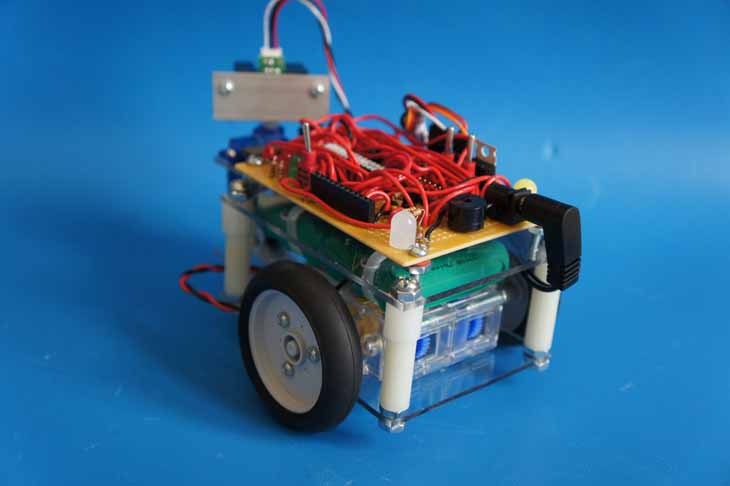
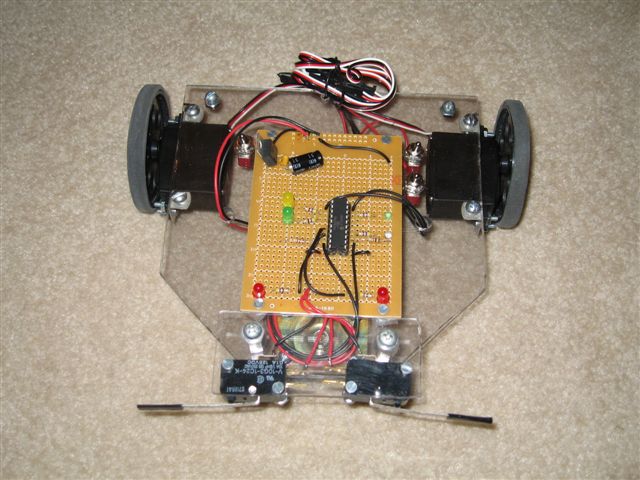
This is my E11 project
Here is a video of the distance sensor scanning.
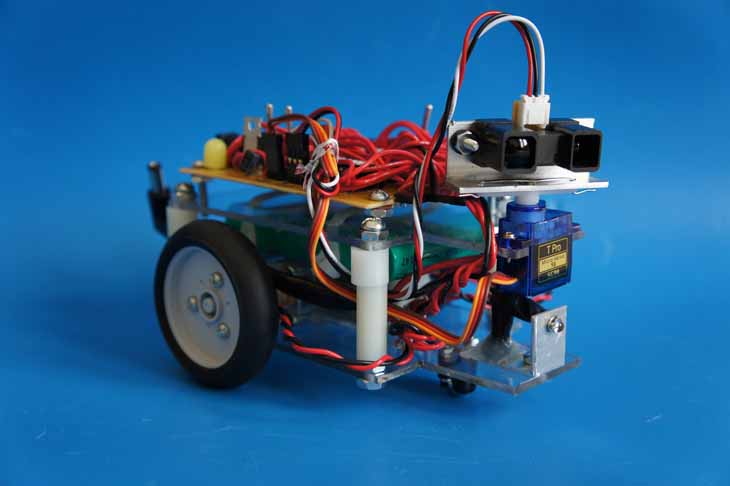
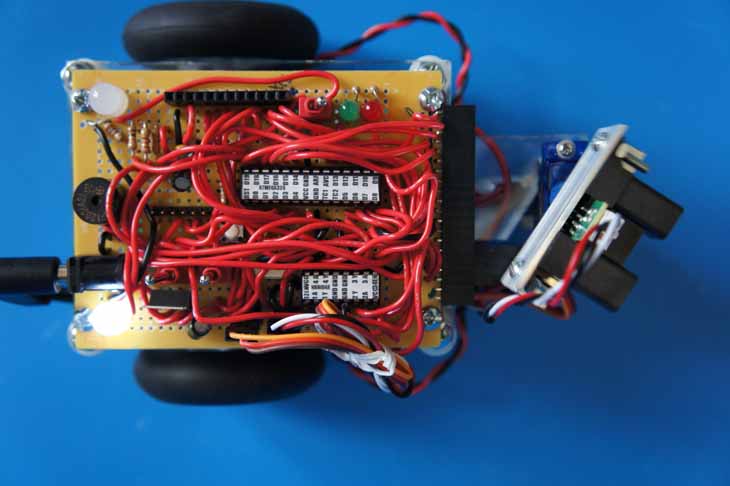
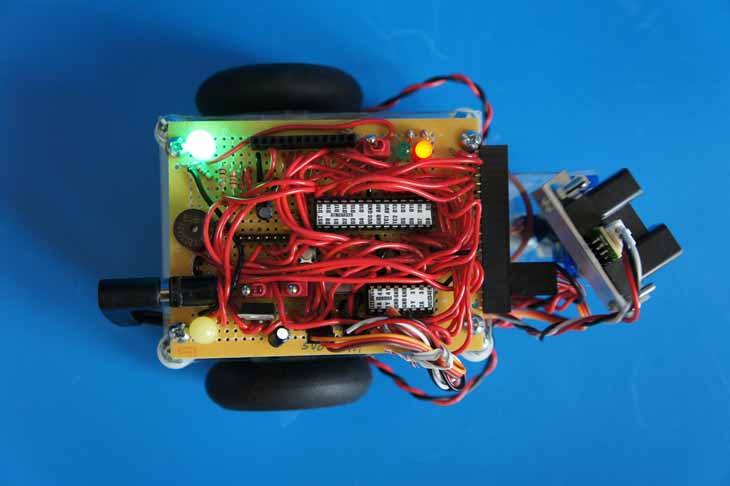
I found the course material for the E11 Autonomous Vehicles class on the Harvey Mudd website. I ordered all the parts, and wired together my own PCB board. The first step was to build a Mudduino. It has a distance sensor, a phototransistor sensor, and a reflectance sensor.
Ranch NAS Server
Ranch server
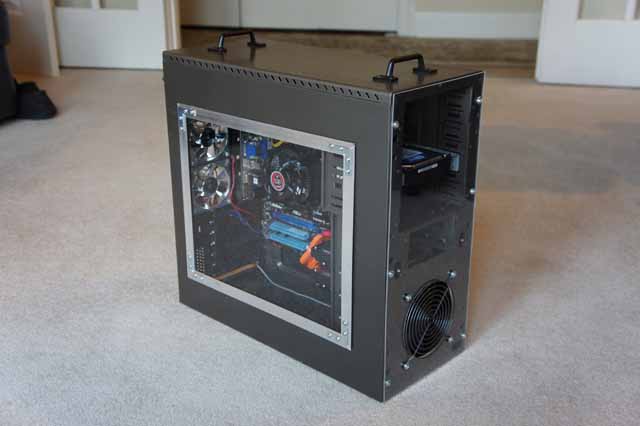
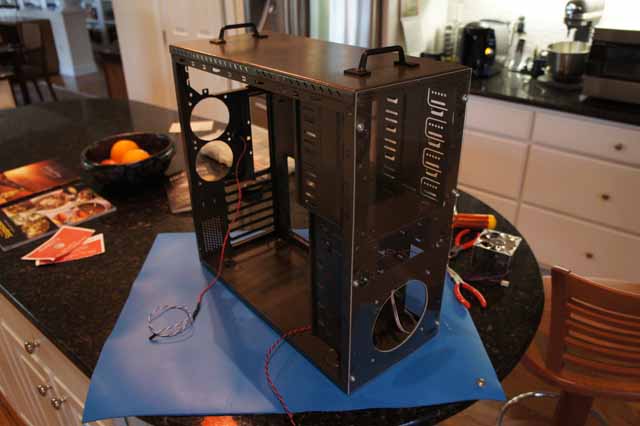
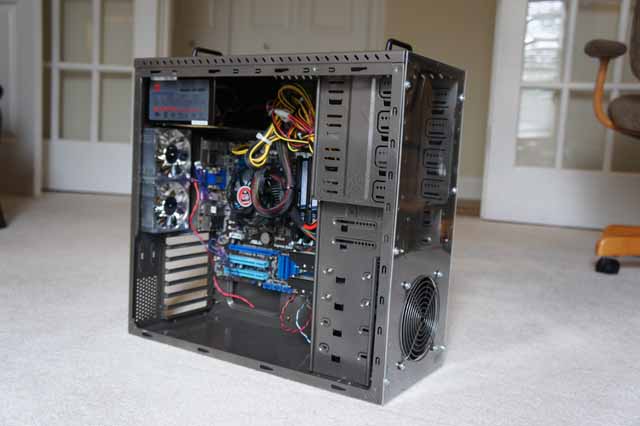
Ranch is a NAS server. I took an old case, and turned it into a NAS server.
I painted the guts with a hammered gray paint.
Ranch
Ranch
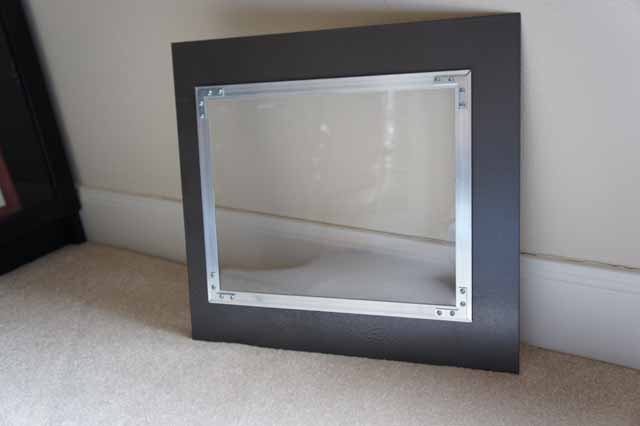
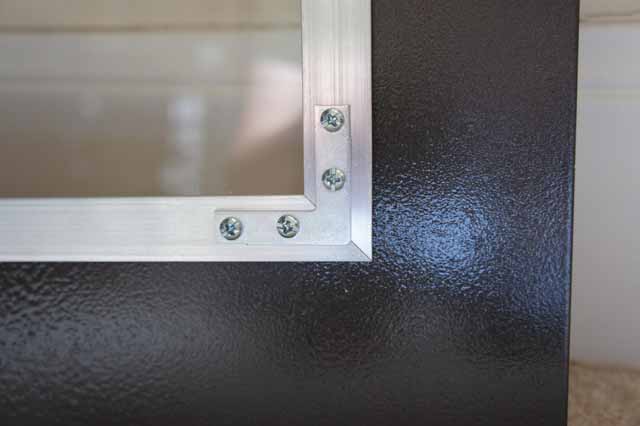
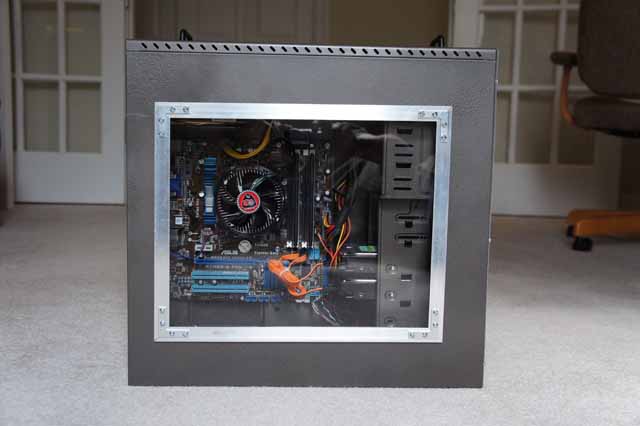
I cut a window in the side panel and built an aluminum frame.
Ranch
Ranch
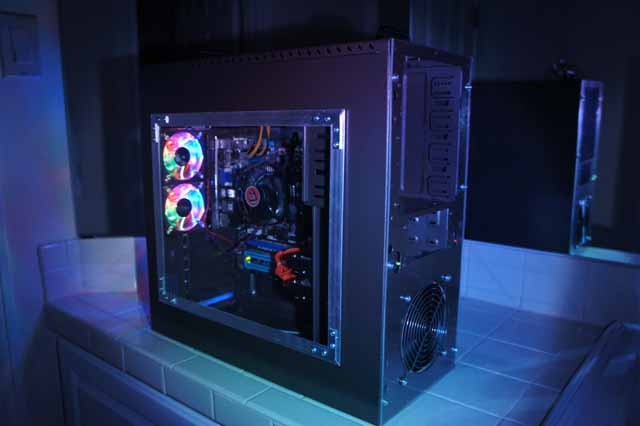
I also put lighted fans in the back, and an acrylic panel on the front.
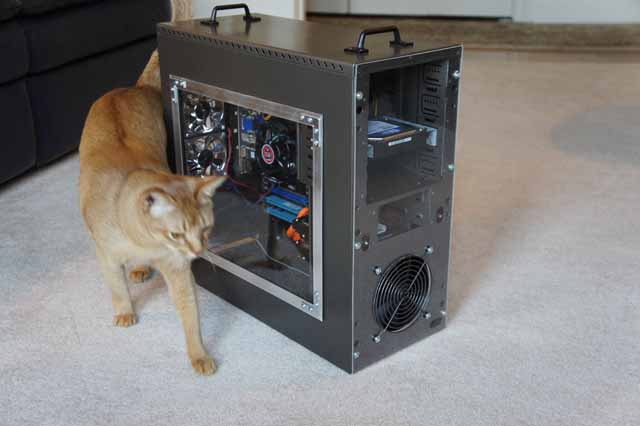
Here is the completed case.
Ranch
Ranch
Ranch
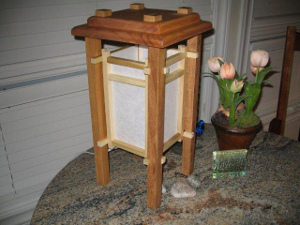
Shoji Screen Case
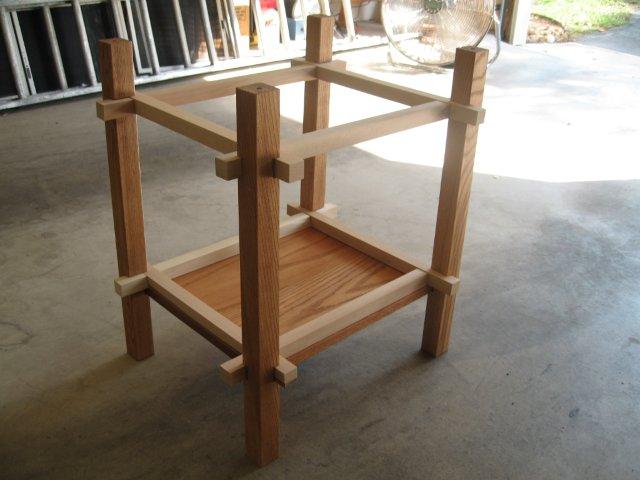
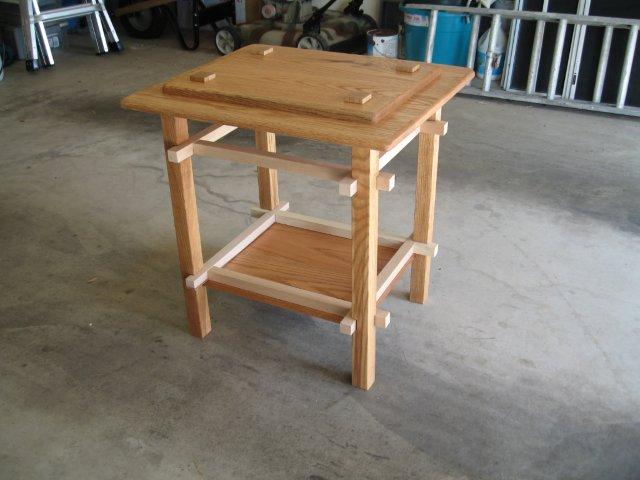
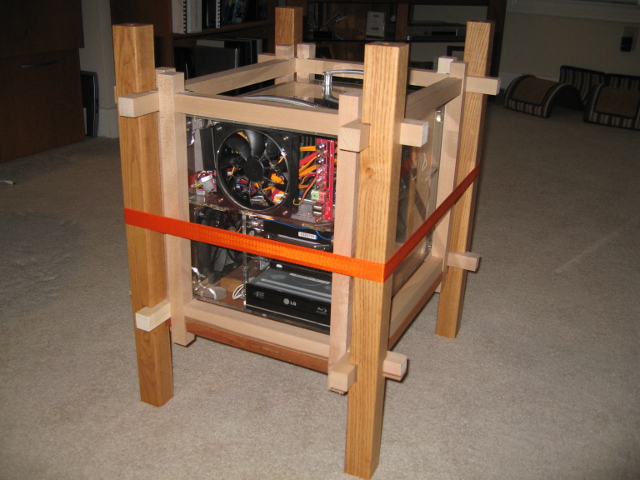
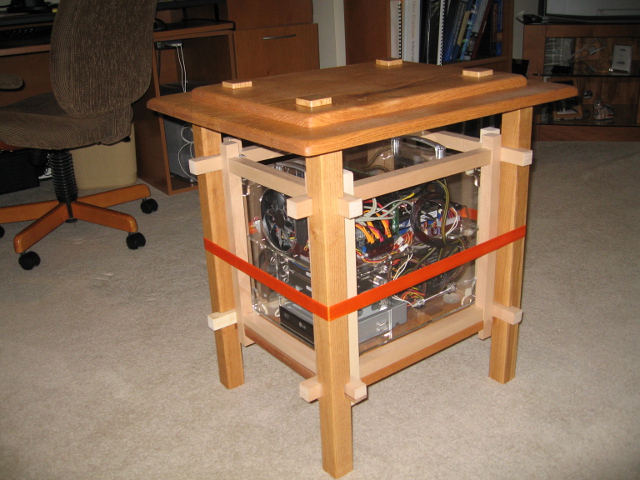
I've been working on building a shoji screen computer case.
The screens are covered with a PVC laminated rice paper.
Shoji
Shoji
Shoji
Shoji
Shoji
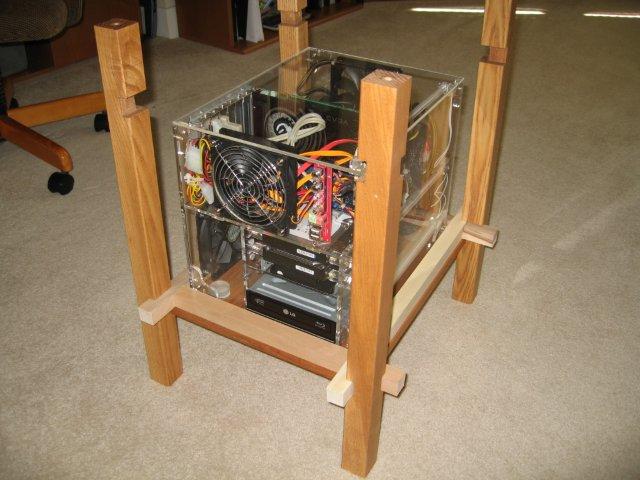
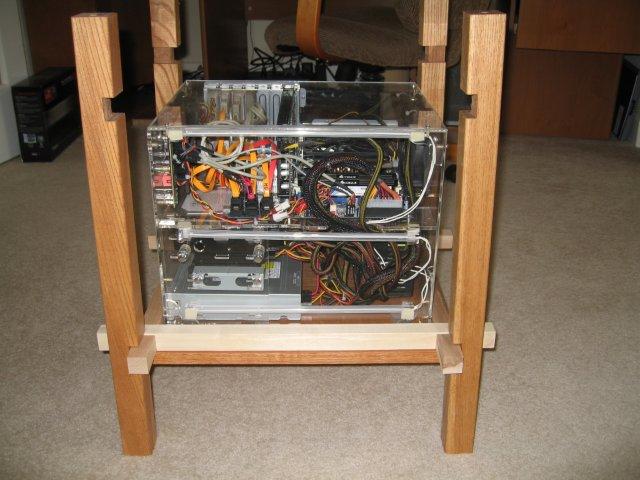
I'm using an acrylic case with white lights on the inside, and
shoji screens on the outside. Here are the designs for the case.
Shoji
Shoji
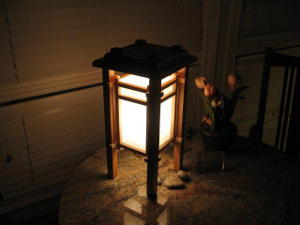
I built a prototype as a lamp with just a lightbulb inside.
Shoji
Shoji
Here are some pictures of the construction.
Shoji
Shoji
Shoji
Shoji
Shoji
Shoji
Shoji
Howard's Back!
This is Howard
Howard
Howard
Howard
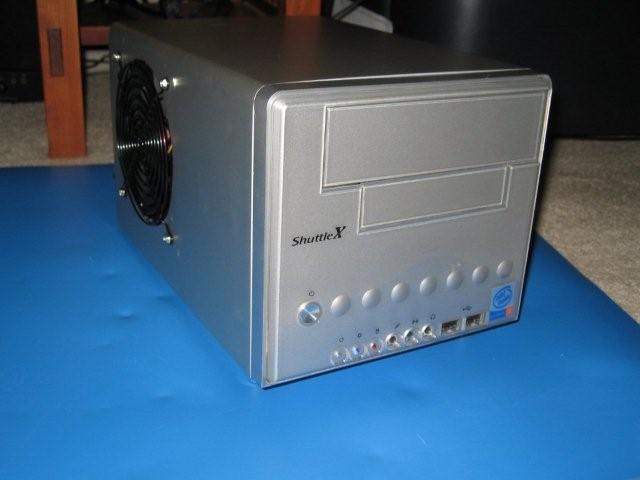
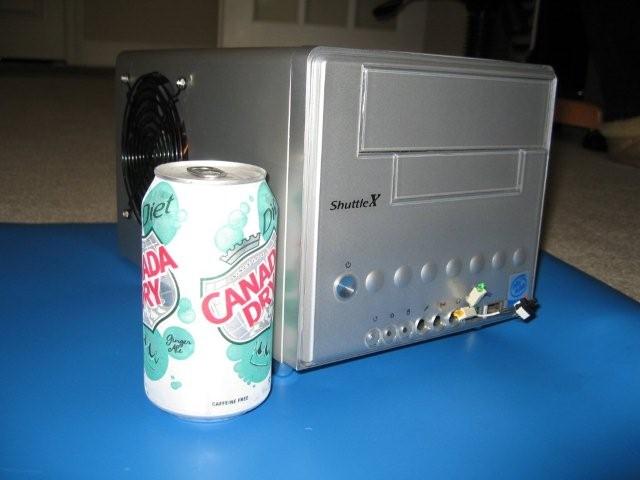
Howard is a Shuttle XPC Zen model ST62K. We bought it as a barebones a few years ago, and put an Intel Pentium 4, 2.80 Ghz in it.
We used Howard to control our AV devices. Howard was hooked up to our 400 disk DVD Jukebox, our Tivo DVR, and our TV. Howard has now retired, and he is only being used to browse the Internet, and to author this website.
Howard Revived
Howard lasted for about 7 years. Then he suddenly went dead, and I determined that it was the motherboard. It seemed like it was time to revive Howard, and update the processor in the process.
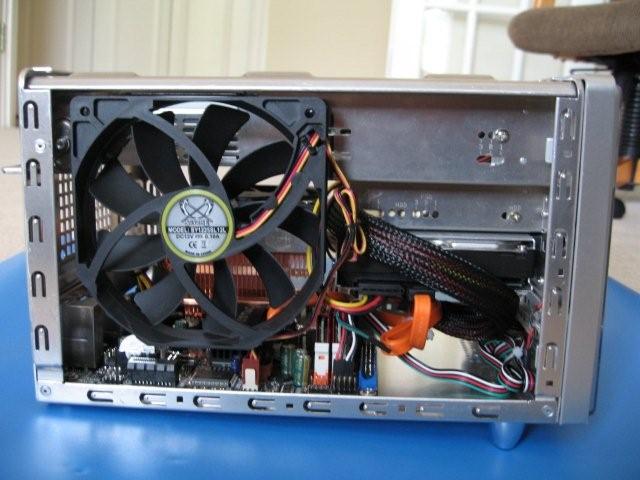
The new Howard. Including a new blowhole on the side.
Howard's size compared to a ginger ale.
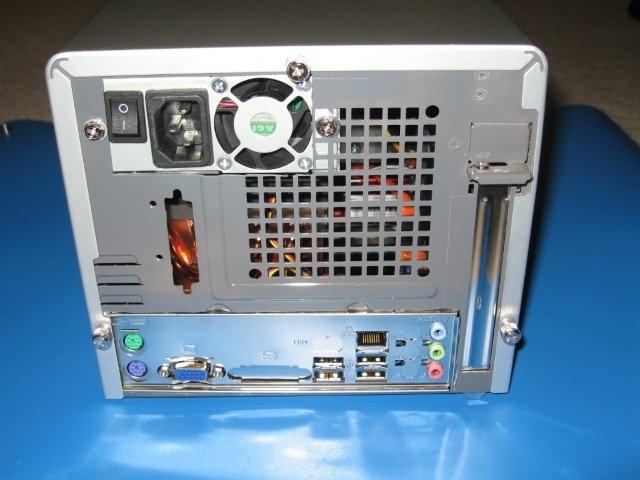
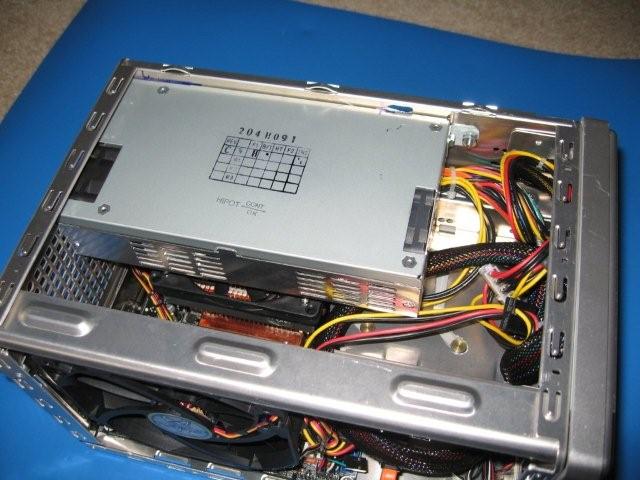
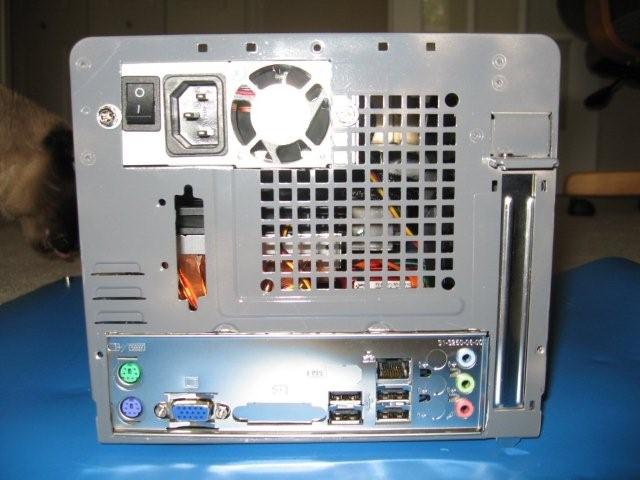
I had to cut a new hole for the PSU, and a larger hole for the backpanel.
I didn't have room for a rear case fan.
But, I made up for it with the 120mm blowhole on the side.
I mounted a 250W PSU that I bought from Jameco for $20.
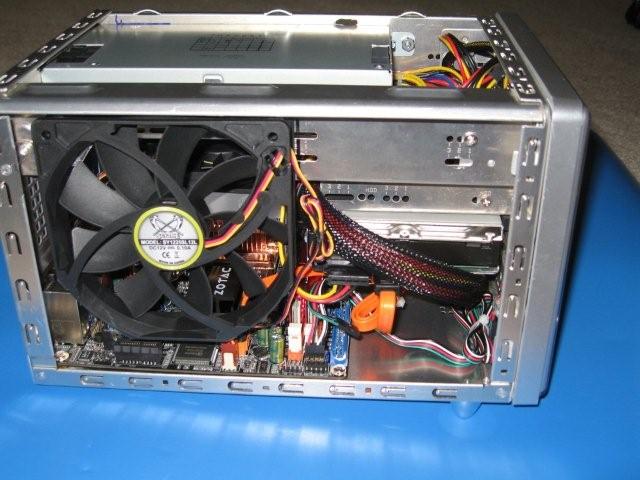
I installed a ZOTAC nForce 610i-ITX motherboard that I found for $50.
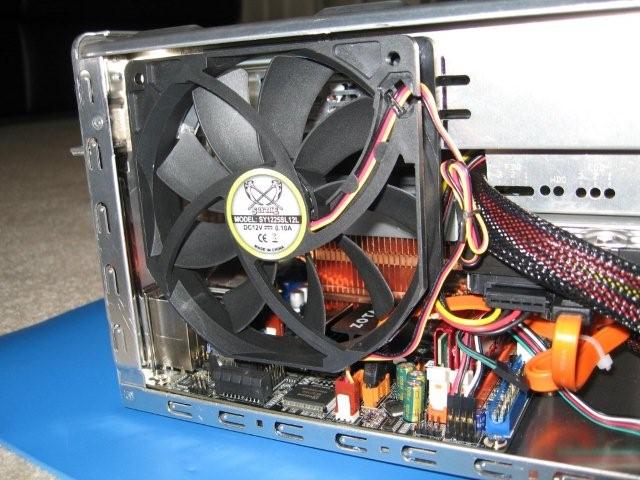
This Scythe fan moves a lot of air, quietly.
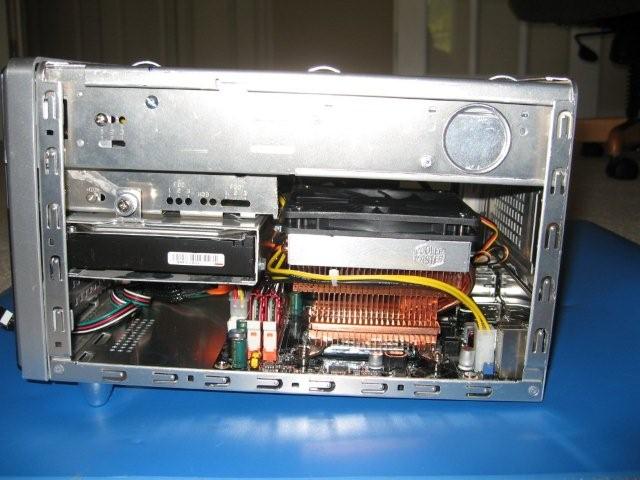
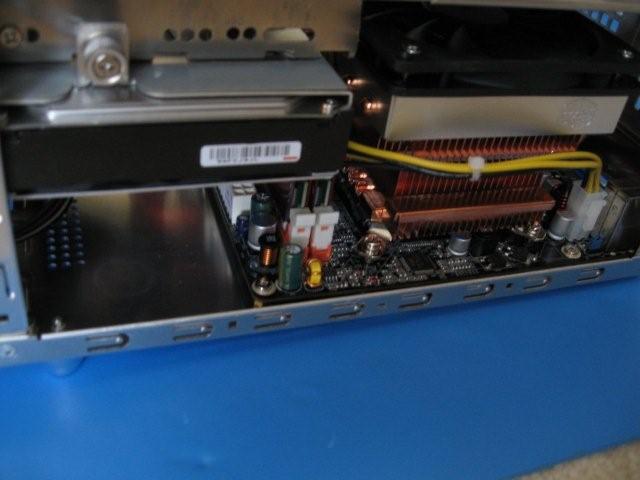
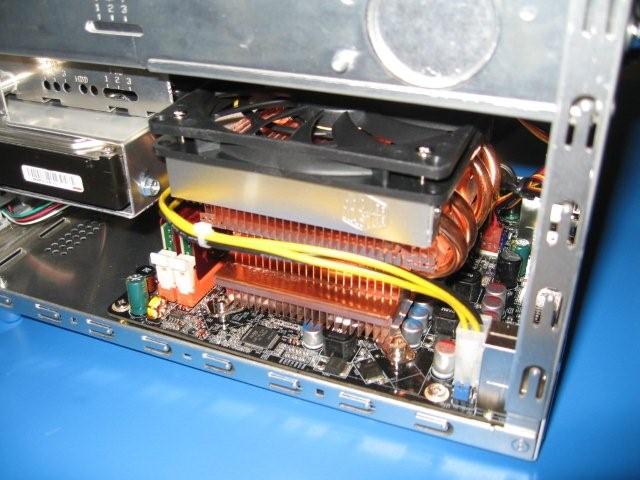
On the other side, you can see the hard drive, and the CPU heatsink.
I used the original HD mount for a 320G drive.
I replaced the original heatsink fan with a slim fan.
I modded the 120mm fan by cutting off the 2 bottom corners.
This motherboard has a PCI Express x1 expansion slot.
With the fan here, I'll never be able to use the expansion slot.
But, I really couldn't find anything of value to fit in a PCI Express x1 slot anyway.
Another shot of the back.
Gordon is Ubuntu
This is Gordon
Gordon
Gordon is Howard's brother.
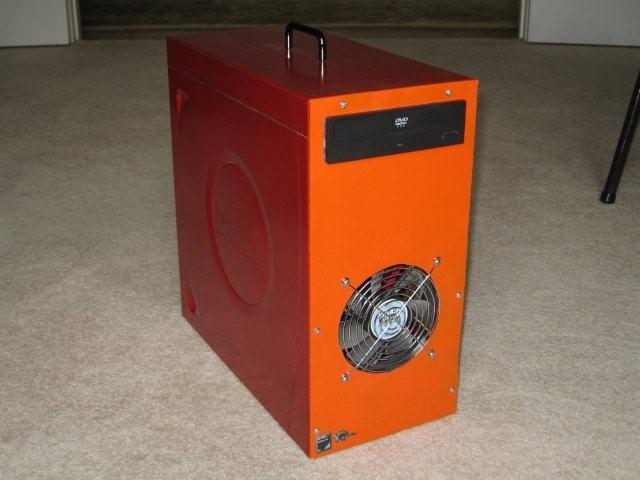
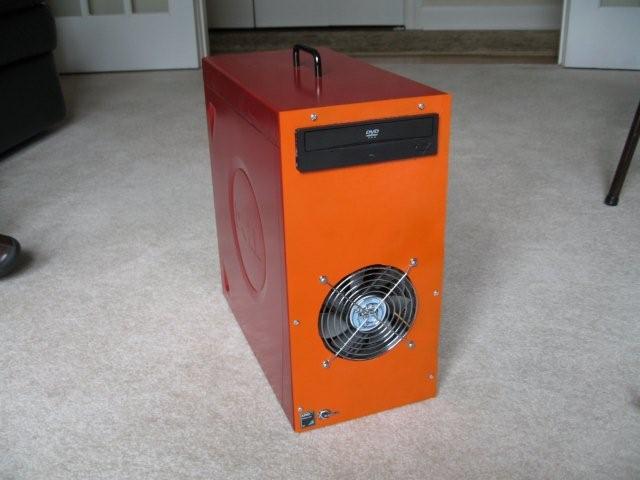
Gordon is an old Dell case that we gutted, and then painted red.
We put a piece of orange plexiglass on the front to replace the original Dell cover.
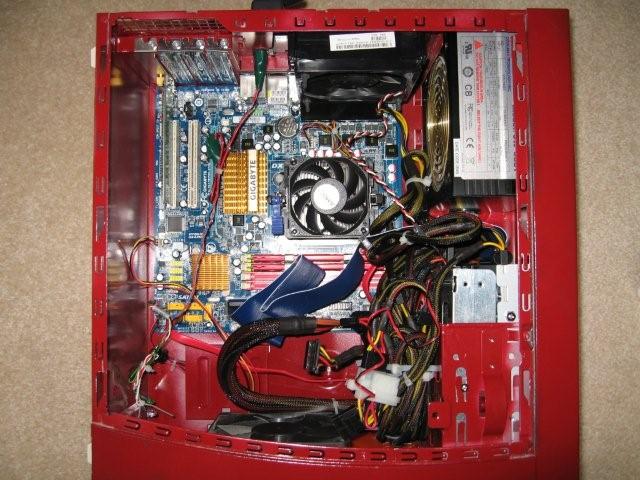
Gordon sports a GIGABTYE motherboard, and an AMD processor.
We set up Gordon as a Linux server running LAMP. We use it to host an internal web site at our house.
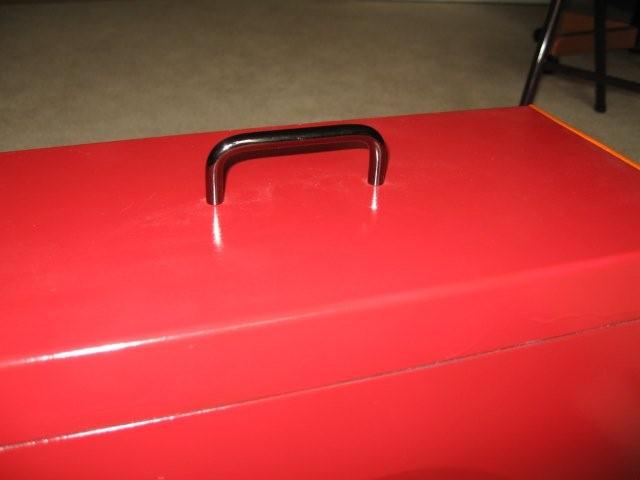
We put a handle on top of Gordon. That makes it a portable.
Here is a picture inside.
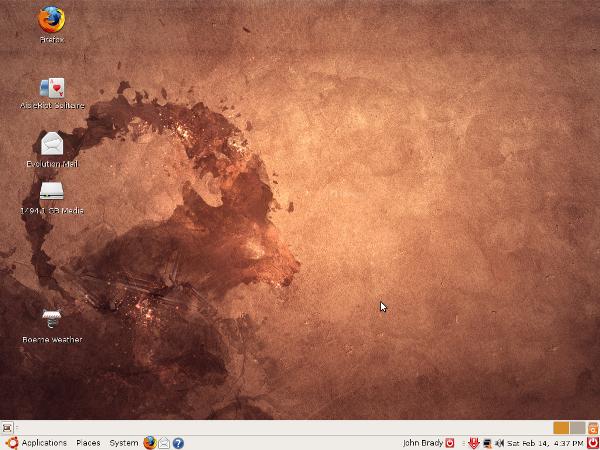
Here is a shot of Gordon running the Ubuntu desktop.
Mr. Carlin goes to school
This is Mr. Carlin
Mr. Carlin
Mr. Carlin
Mr. Carlin
Mr. Carlin is going to college. So, we got a new case, and started cramming all of Mr. Carlin's parts into the new case.
Things are a bit cramped inside.
There is not much clearance for the heatsink.
We put in blue fans.
You can see the POST codes through the window.
Front View.
Kaypro wins Rig of the Month
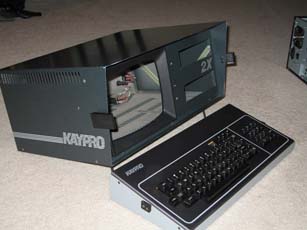
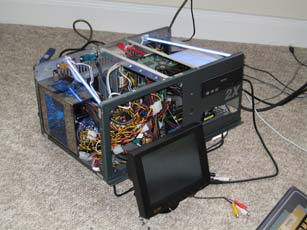
This is the Kaypro
We submitted pictures of our Kaypro to MaximumPC magazine's Rig of the Month contest. The Kaypro was featured in the Holiday 2008 edition. Here is a link to the article. The PDF is kind-of big, so it may take a while to download.
If you don't recognize this type of computer, you will probably just think it looks kind of strange with a built in keyboard, monitor, and mouse. If, however, you do recognize it, you were working with computers in the early 1980's and are wondering why it looks different in comparison to the original computer that bore the name Kaypro. It looks different from the original Kaypro because it is a gutted out Kaypro 2 rebuilt from the motherboard up.
Step 1: Taking out the Guts
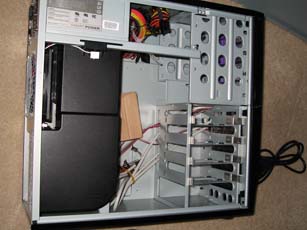
Kaypro Guts
Other Computer Guts
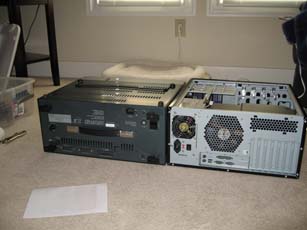
Side by Side
The first step involved completely removing all inferior technology from the case and buying a modern case from which we took mounting brackets. Anything that was permanently connected to the case came out through a little bit of coaxing, and we did end up saving some of the original metal brackets for use later in the project.
Step 2: Melding with the Modern
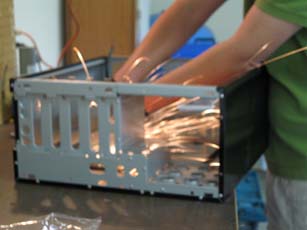
Coaxing out Parts
Melded Case Top View
Melded Case Bottom View
We used a dremal to coax out the power supply and the motherboard mounting bracket from the modern case. The stresses of cutting through metal turned out to be too much for our older dremal, so we purchased a newer one that could cut through the extra thick Kaypro case. With a little bit more coaxing we were able to install the new brackets into the Kaypro.
Step 3: New Guts
New Guts
Other New Guts
We used a regular ATX board in the Kaypro as well as a Pentium D Processor and a 250 GB Hard Drive. We later replaced the power supply shown in favor of a more powerful one, and changed out the underpowered CPU Fan seen in the picture. Although now fully functional, we still had to mount all of these parts into the old case.
Step 4: Homemade Mounting Brackets
Jumbled up Case
Mounted Hard Drive
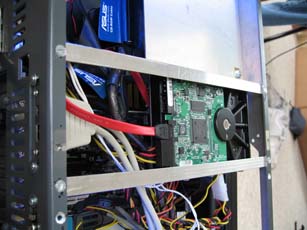
Since we were rebuilding a computer and not using a prefabricated case, it was necessary to construct new brackets to fit into the cramped spaces of the old computer. Luckily, DVD drives still use about the same mounts as floppy drives did in the 1980's, so it was possible to take the old mounting brackets for the floppies and with some cutting use them for the DVD drive and front panel. We also found a small monitor to replace the original Kaypro screen. The hard drive was the hardest to mount, but eventually we just took two metal rods and hung it from the top of the case.
Step 5: Final Touches
The Keyboard
Inside the Keyboard
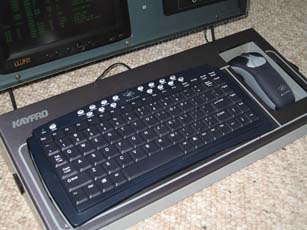
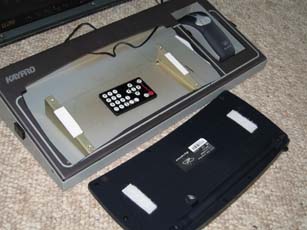
To finish off the actual computer we added some lights to the inside and added a front panel which included USB and FireWire ports. The major final touches we added were the keyboard and mouse. The original Kaypro had a handle on the back and a keyboard that folded up and latched onto the case; these two innovations made it one of the first portable computer (it still weighed quite a lot). We wanted to replicate this, so we gutted out the old keyboard tray and added in slopped supports with Velcro. We then got a keyboard and a gyration mouse that you simply move through the air. We attached the keyboard and the mouse charger on with Velcro and the mouse was strapped onto its charger. We also ran a USB wire through the tray to charge the mouse.
Step 6: Maintenance
The hard drive recently went out, so we ordered a larger 320 GB hard drive. We suspect the hard drive was to close to the top of the case and overheating, so we are going to lower it a little.
Go PicBot!
This is the PicBot
picbot
We put together a small robot car using a PIC16F690 embedded controller. It randomly moves around, until the whiskers on the front sense that it has run into something. Then, it backs up, and tries a different direction. The two red LEDs on the front flash randomly. The two LEDs on the left indicate whether the whisker sensors on the front have been activated. The two LEDs on the right indicate the direction of movement.